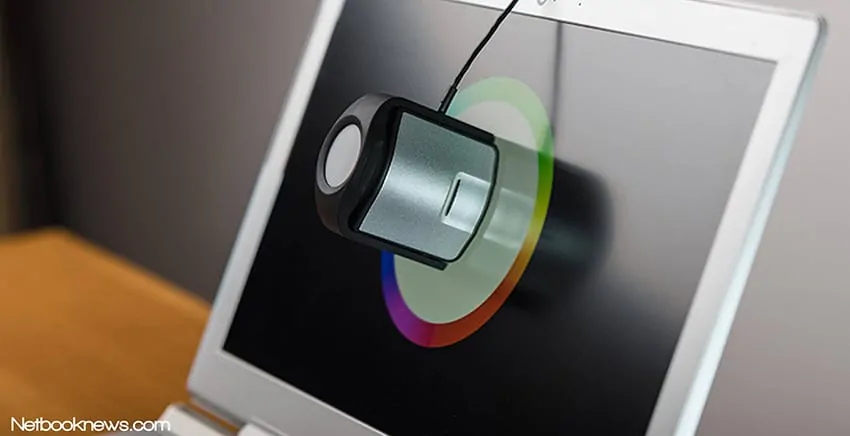
Do you want to ensure you get the best quality when it comes to movies, pictures, and gaming displays? Then, you need to calibrate the laptop monitor to improve the display quality.
What calibration does is to adjust the colors of your monitor so whatever is displayed on them are accurately reflected. The good thing is that to calibrate laptop monitor, you only need the Windows Color Management System.
How To Calibrate Your Laptop Monitor On Windows 10
The following are the steps that must be taken to calibrate any Windows 10 laptop monitor. They are:
Step 1: Place your cursor on the Windows 10 home then “right click”. Or
Use a shortcut of the “Windows Key” + “I” to open the menu
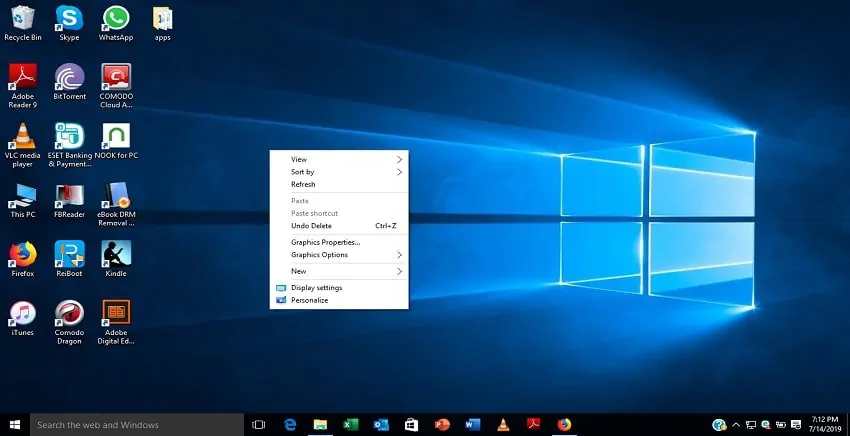
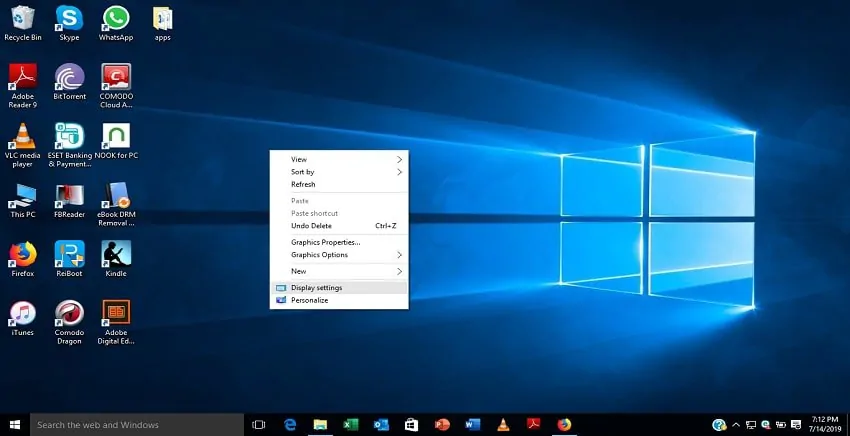
Step 2: Move your cursor to the field titled “display settings” and select it.
Step 3: A new box pops up with the display field open so just click on “advanced display settings”.
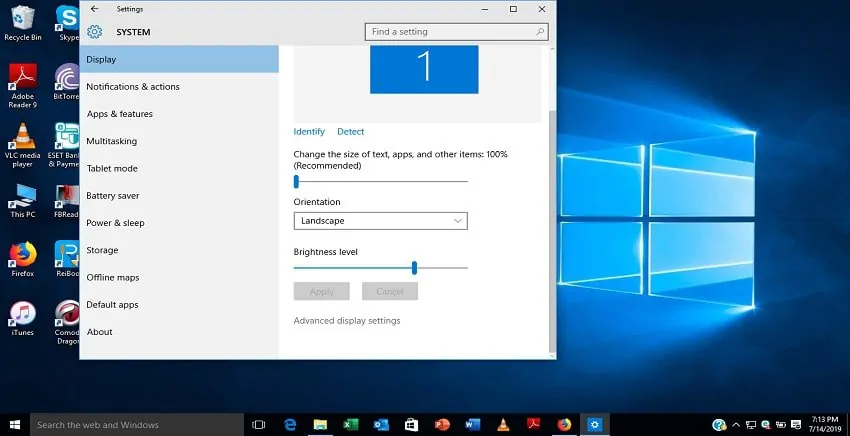
Step 4: Check if your monitor is set to the recommended resolution by opening the drop-down menu and looking out for the “recommended” tag.
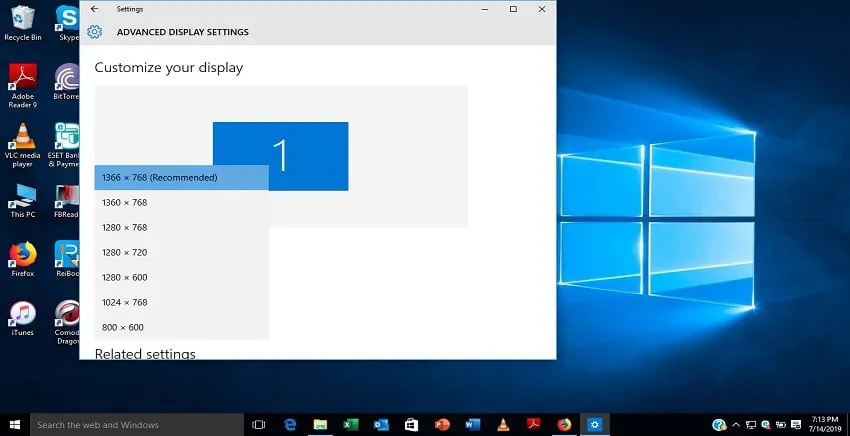
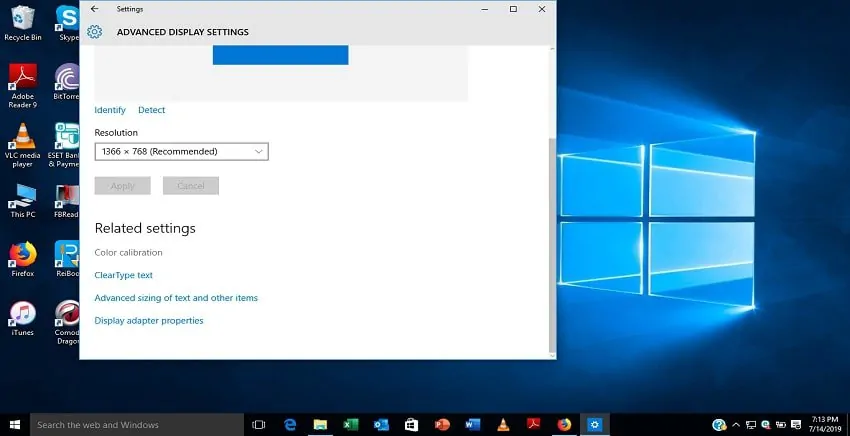
Step 5: After applying the recommended resolution setting, select “color calibration” under “Related Settings”.
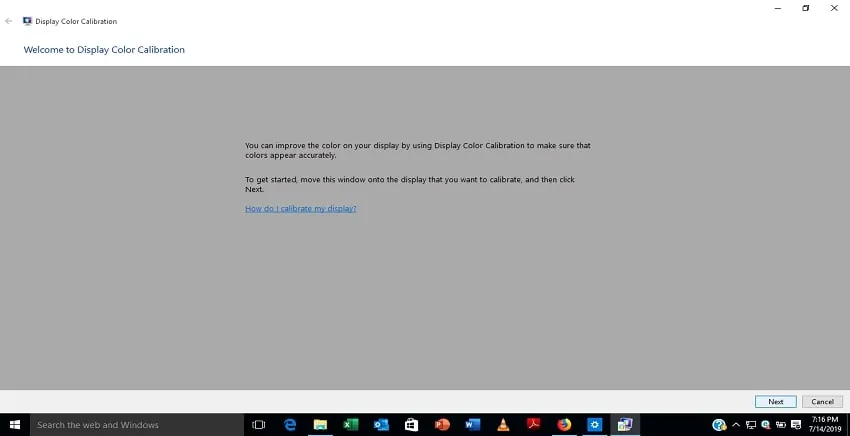
Step 6: When the box pops out, click the “Next” option.
Step 7: Read the instructions outlined by the Wizard tool on how to set display settings to both recommended factory or your preferred one.
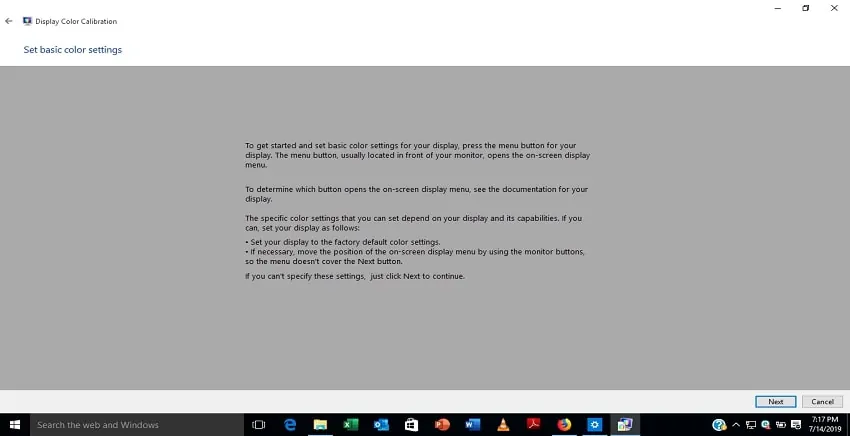
Step 8: After reading, the next thing to do is click the “Next option”
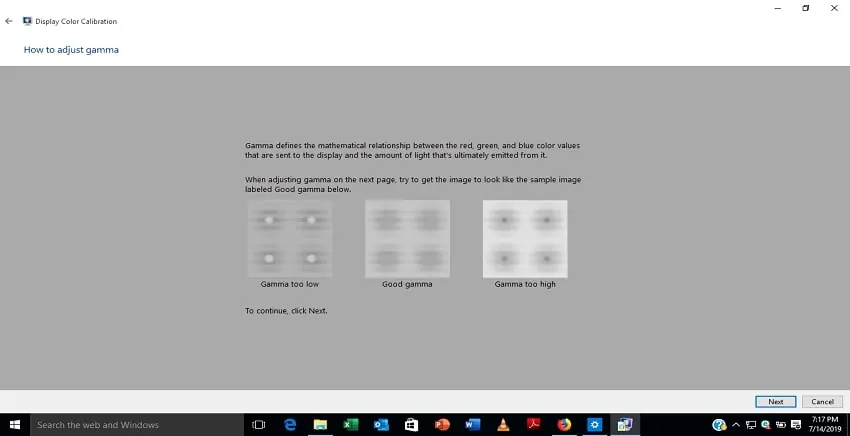
Step 9: Gamma Settings
The first thing to adjust is your gamma settings.
You will see a slider to be moved up and down and a template of 9 dots.
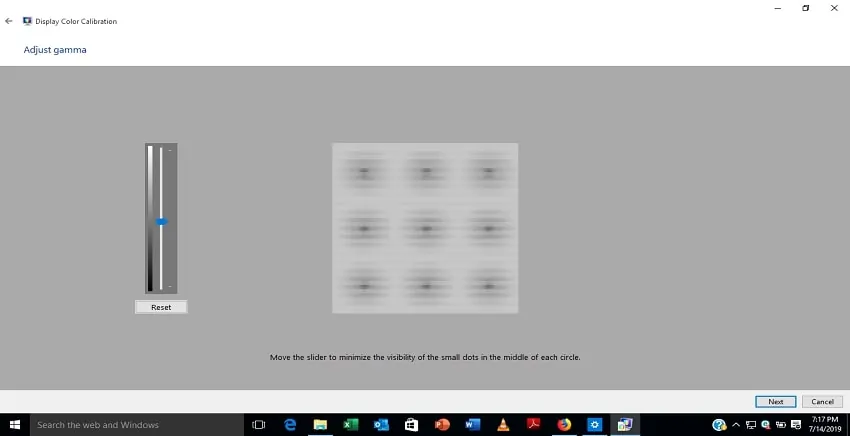
As you move the slider, the visibility of the dots increases and decreases.
When you are satisfied with the gamma, click the “next option” again.
Step 10: Adjust Screen Brightness
Next up is to adjust the brightness
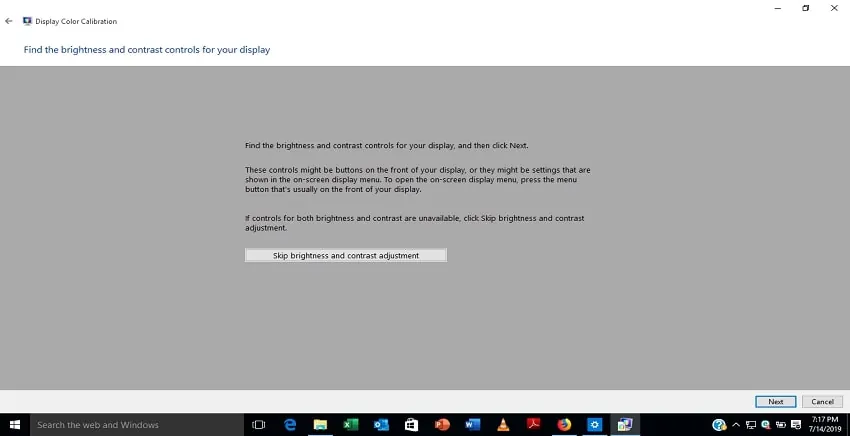
You will see an image on the screen
Use the brightness control on your PC to adjust the image until you can distinguish between the suit and shirt.
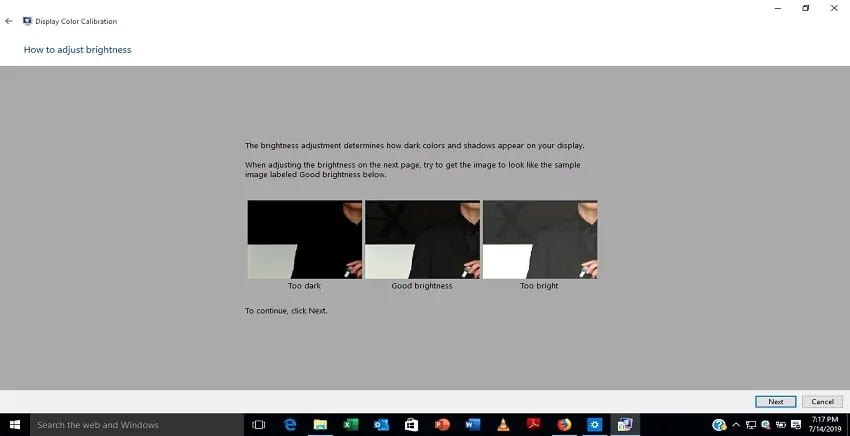
Click the “Next” button

Step 11: Reduce/Increase Contrast
You will see the contrast section pop up
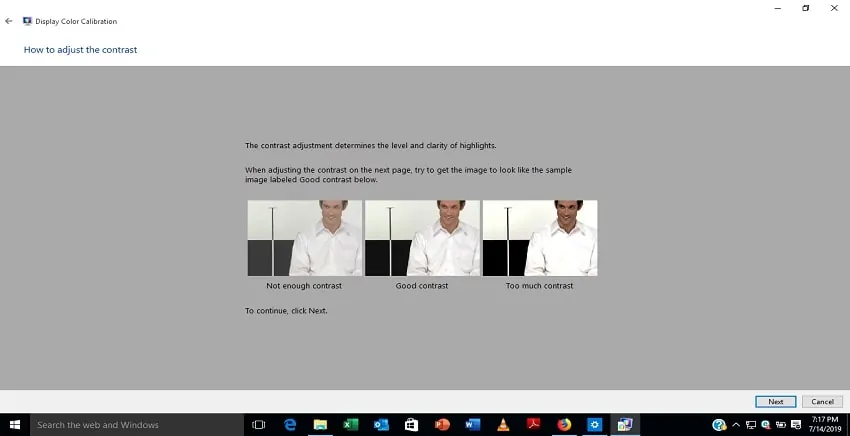
Making use of the image on display, adjust the contrast to what you want and this should be done in a way that you do not lose the ability to see wrinkles or buttons on the shirt.
When you are done, click the “next” button

Step 12: Color Balance
This time around, you will be adjusting color balance
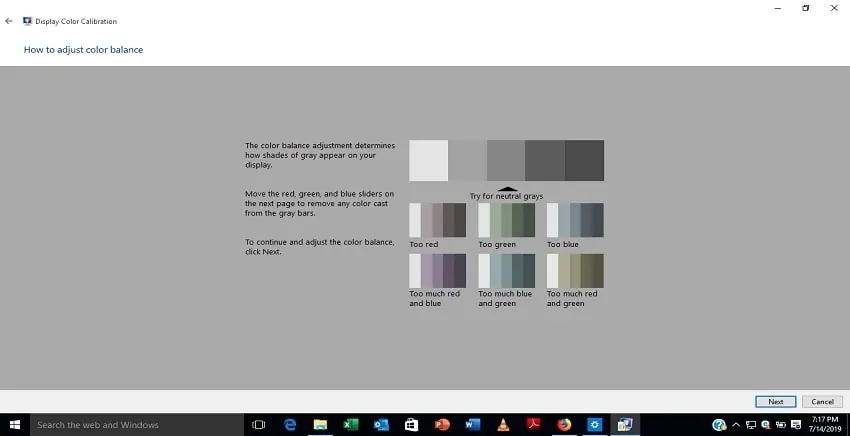
To adjust this, move 3 different sliders representing red, blue and green until all the color cast are removed from the gray bars.

Click “Next “again
Step 13: Review and End
The wizard will advise that you have created a new calibration and ask you to compare the “Previous calibration” and “New calibration”.
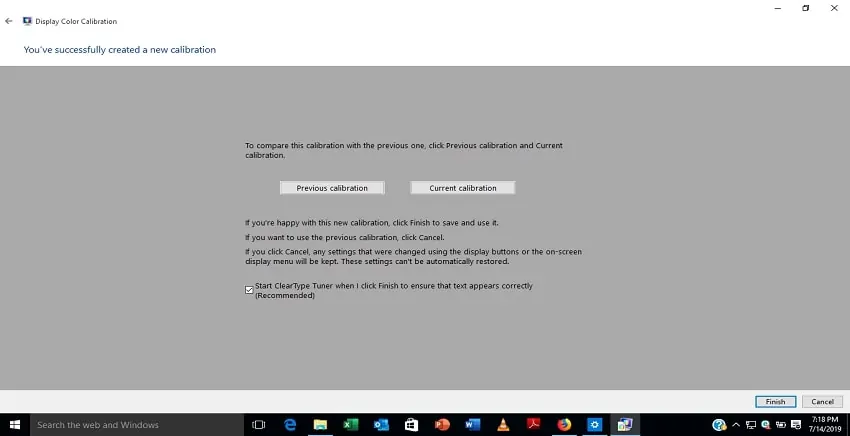
You also have the option to start “Clear Type Turner” to ensure texts are displayed correctly.
If you are satisfied with the new calibration, click “Finish”.
However, it is very important to note that calibration is not the only means available to improve display quality on a monitor. You can also try updating your video card drivers but there are different types.
How to Check For Your Graphics Card Driver
Changing the display settings of your graphics drivers will have an effect on your color accuracy, brightness, and contrast. This is similar to the effect which calibration has on your monitor display.
But, note that there are three main parties in the graphics card industry which include AMD, Intel, and NVIDIA. To check for the driver in your system:
- Use the Windows 10 “Search tool” and type “Run”
- Then type “dxdiag” into the open field
- A pop-up box will appear then click the “Display” tab
- You should see the name of your driver.
Conclusion
Calibration of your laptop monitor is one of the best ways to take care of all the display issues you have on a laptop at a go. You can personalize your brightness, contrast, and gamma in one sitting.
But, as you are playing around with the various settings, do keep track of the changes you make in case you want to revert back to the old display. If you cannot remember, you can refer to the instructions above to reset back to recommended settings.

Kenny Trinh is a seasoned expert in the field of laptops and technology, boasting an extensive background enriched by years of hands-on experience and in-depth research. With a keen eye for innovation and a passion for staying ahead of the technological curve, Kenny has established himself as a trusted voice in the tech community. Holding a prestigious degree in Computer Science, he combines his academic insights with practical expertise to deliver valuable insights and recommendations to his readers and followers. Through his work, Kenny aims to demystify complex tech concepts, empowering individuals to make informed decisions and optimize their digital experiences.
